Connector: Outlook 📧
The Outlook Connector links Wingerx to your Microsoft Outlook account, allowing you to both trigger workflows from new emails and send emails as an action in your automation.
How It Works
This connector has two primary functions:
- As a Trigger: It can start a workflow the moment a new email arrives in a specified folder (e.g., your Inbox). The email's content (sender, subject, body) becomes the starting data for your workflow.
- As an Action: It can be placed anywhere in your workflow to send an email. The recipient, subject, and body can all be populated with data from previous nodes.
Setup & Key Settings
-
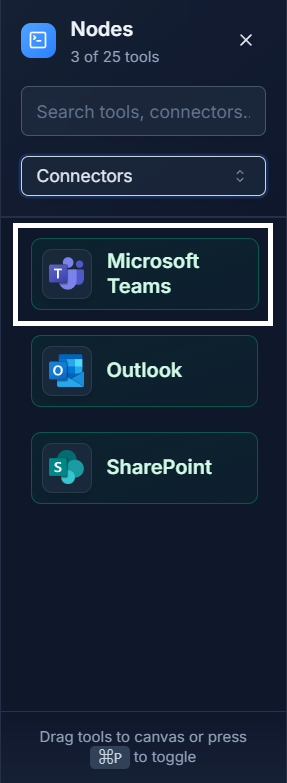
Add the Node: First, drag the Outlook connector from the Connectors panel onto your canvas.
-
Configure the Node: Double-click the node to open its settings. The first time you use the Outlook Connector, you will be prompted to securely sign in to your Microsoft account to grant Wingerx permission.
- Mode: Choose whether this node will act as a
Triggeror anAction. - Folder (for Trigger): Specify which email folder to monitor for new mail (e.g.,
Inbox). - To, Subject, Body (for Action): Fill these fields with static text or, more powerfully, with dynamic data from the outputs of previous nodes.
Example 1: Smart Email Triage (Trigger) 💡
- Use the Outlook Connector as the first node, set to Trigger mode, watching your "Support" folder.
- Connect it to an Ai Agent that reads the email body and classifies its category (e.g., "Sales Inquiry" or "Technical Issue").
- Use a Condition node to route the task to the appropriate team based on the agent's classification.
Example 2: Send Automated Summary (Action) 💡
- Start a workflow with a Schedule Trigger.
- An Ai Agent generates a weekly summary report.
- Connect the agent's output to the Outlook Connector, which is in Action mode. Link the summary text to the Body field and set the recipient in the To field.
Quick Tips
- One Trigger Per Workflow: A workflow can only have one starting point. If you use the Outlook Connector as a trigger, it must be the first node.
- Use Dynamic Fields: Populate the
To,Subject, andBodyfields with data from previous nodes for personalized, automated emails. - Secure Connection: Your Microsoft account connection is encrypted and secure via OAuth.